I go by the handle ‘iseon’ on the Lenovo Community forums and we have been having a discussion there about the performance issue with the Miix 2 11. It seems that the perfomance issues with this tablet stems from the power limitations set by firmware. I have been looking for a way to bypass the power-limit and thought that it may be a setting in the BIOS. I have discovered a way to unlock all the advanced settings in the BIOS, and done some initial experimentation with it. But unfortunately I have not found a setting in the unlocked BIOS which will remove the power limitation yet.
So if you only want to improve the performance of the tablet – there is no guarantee that this bios unlock will give you the ability to do so yet! That said, the hidden BIOS Advanced page contains a HUGE list of settings and there may be settings that are useful for other purposes – and people who want full control of their tablet’s settings may want to do this. I strongly recommend that only advanced users proceed — but I have written the guide in a beginner friendly way so that anyone who is interested can follow it. I can not be held accountable for anything you do that makes your devices malfunction. Please proceed with caution, the only guarantee I can give is that it worked on my own tablet.
This BIOS mod does not void your warranty, any changes done here can be reversed by loading the default BIOS settings or resetting the BIOS by removing the battery. I have tested this mod on BIOS version 97CN37WW, but it should *probably* work on 97CN39WW (the decompressed BIOS settings page looks the same) — if you want to try with any other version it is up to you, it may or may not work. Version 97CN39WW has some extra added UEFI security so that may prevent you from doing this — I have not tried. It should work on both i3 and i5 editions ( I have the i5 ).
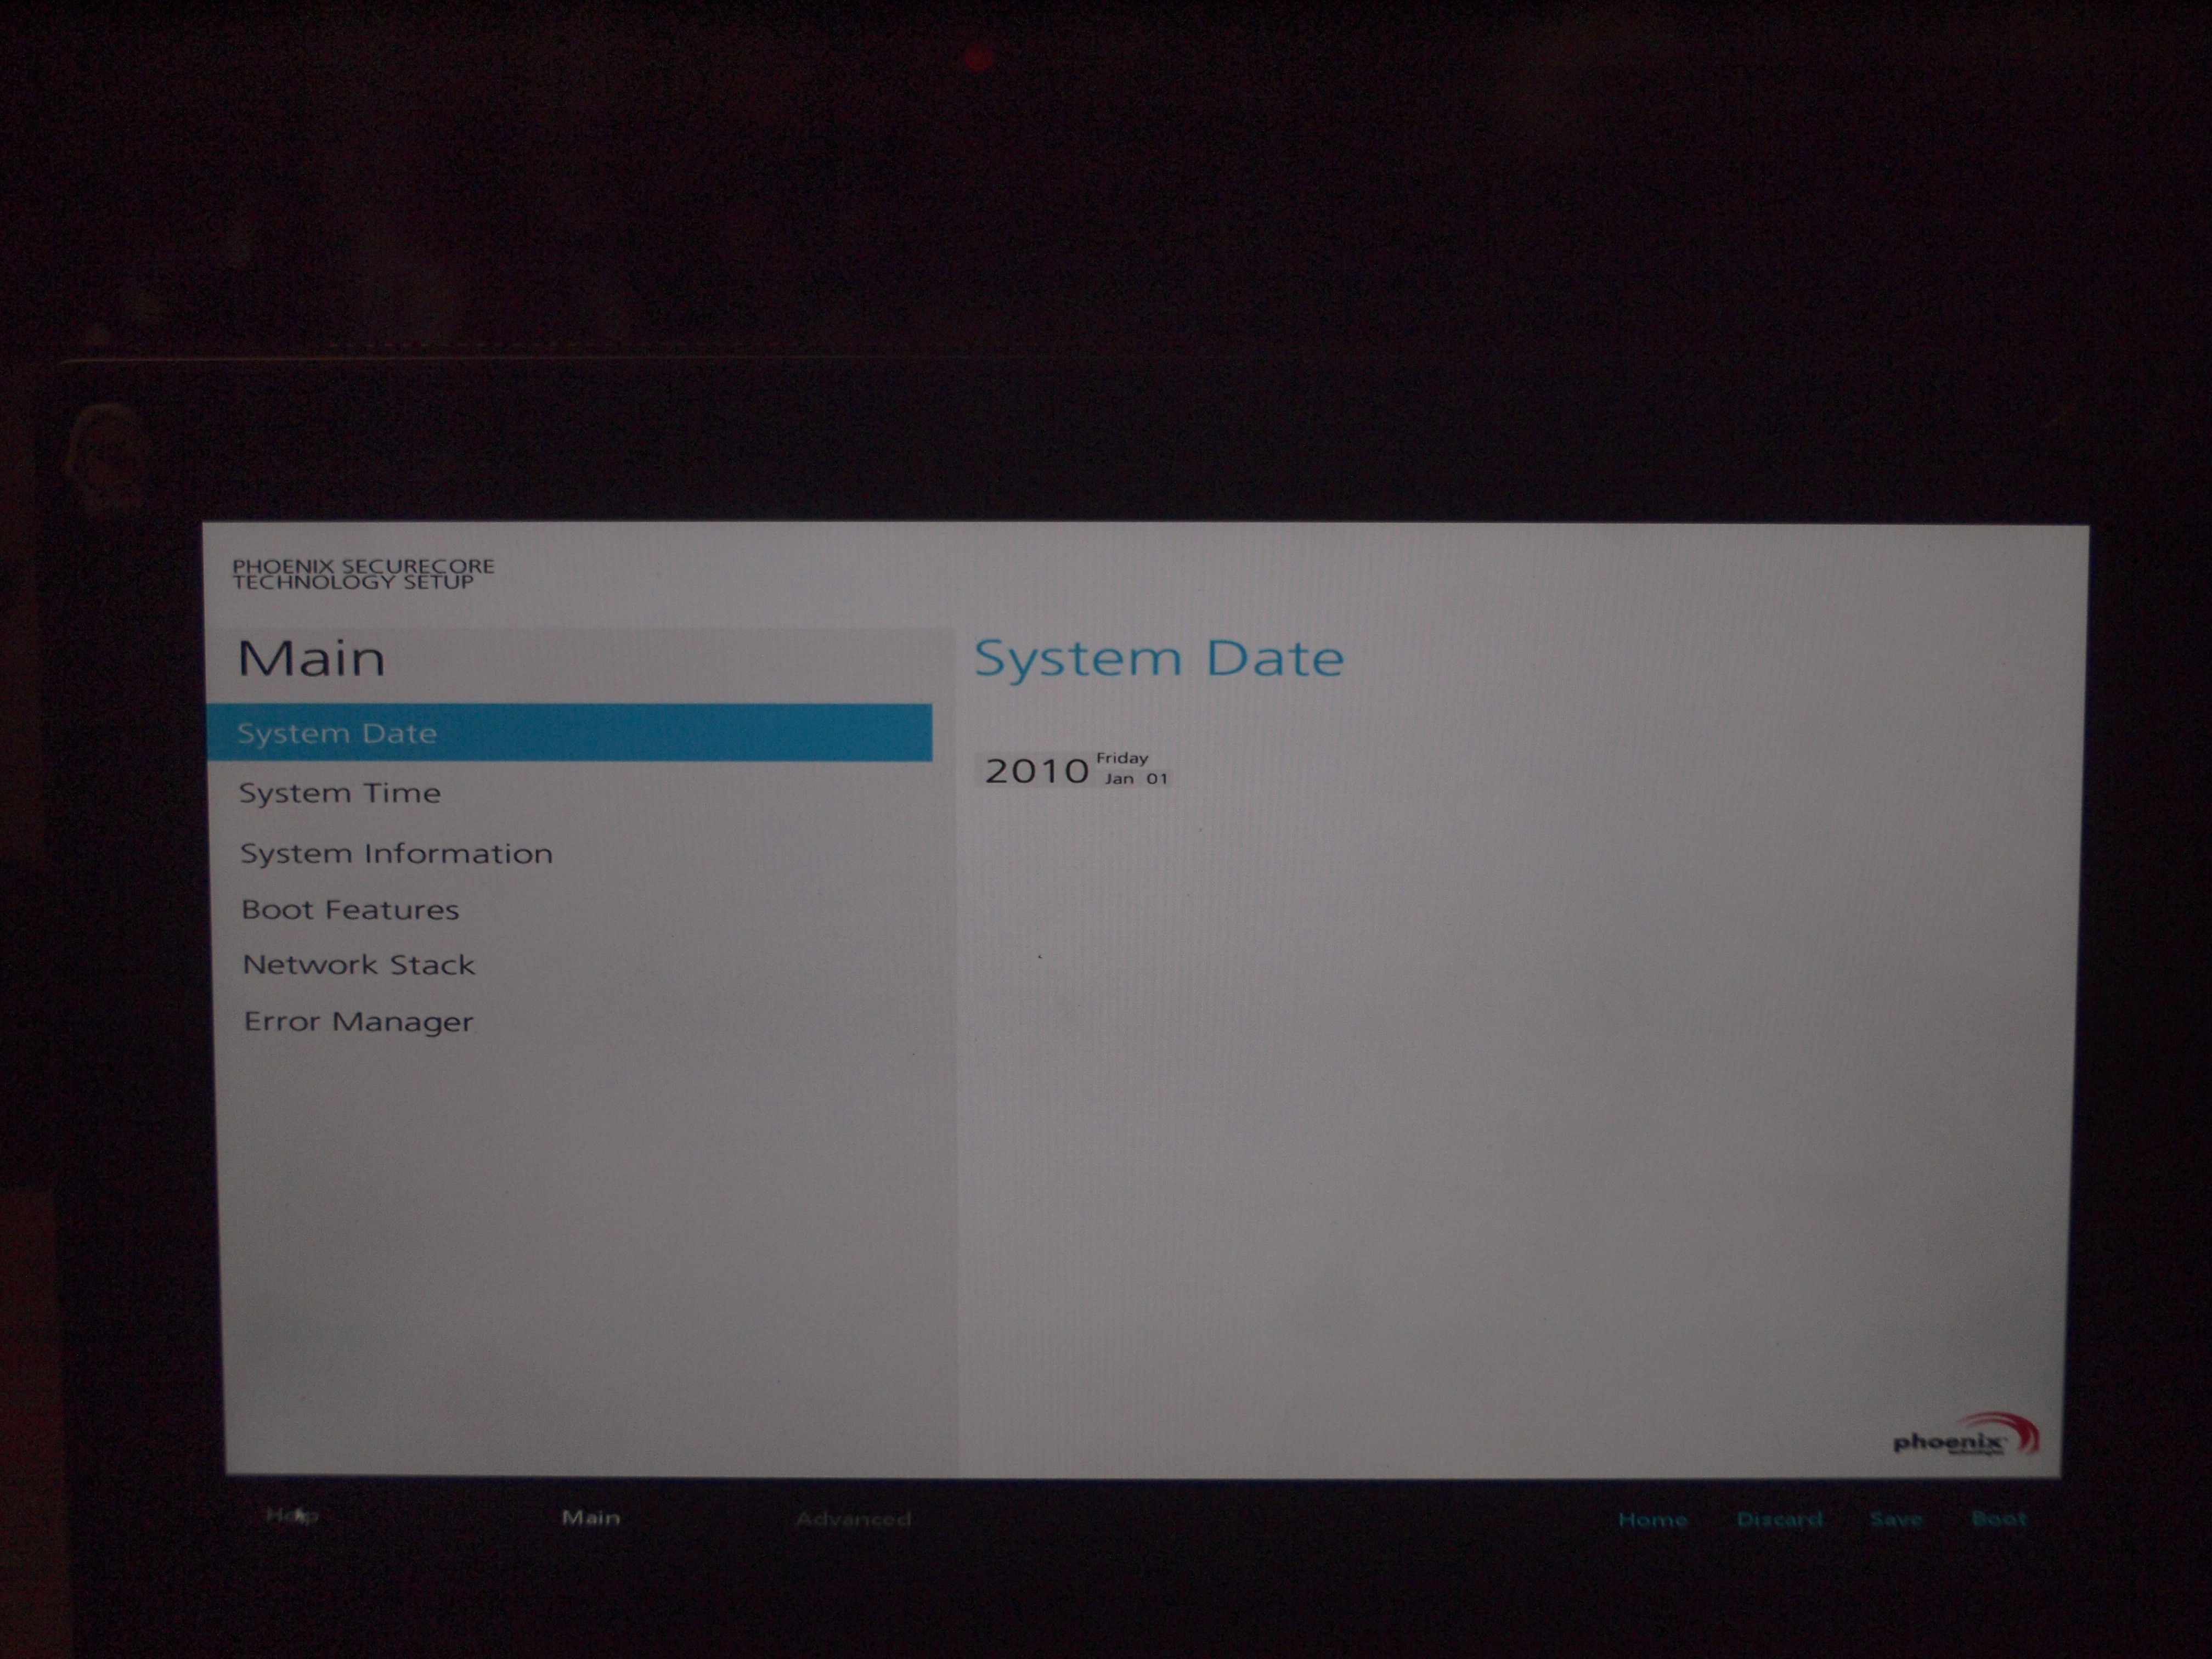
Before we start, here are some pictures of the unlocked BIOS (I recently reset the BIOS so the Date is all wrong):


GUIDE START:
1. In order unlock the hidden BIOS advanced settings we are going to need to use Linux to access the UEFI variables – but no worries for Windows users this can be done fine without installing Linux, you just need to put a bootable Linux version on a USB drive and boot from that. Ubuntu is user-friendly, bootable from USB drive, and has all the tools we need so we will use it in this guide. Download Ubuntu 14.10 64-bit Desktop version from here it is about 1GB: http://www.ubuntu.com/download/desktop
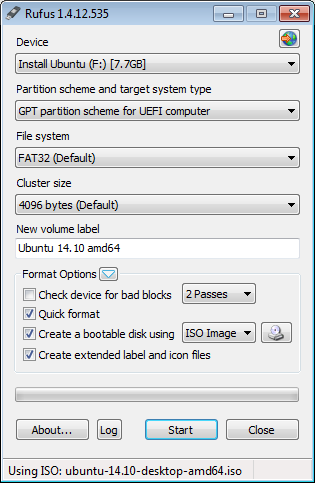
We will use Rufus to put the Ubuntu ISO onto the USB drive download it here: https://rufus.akeo.ie/
2. After you are finished downloading, insert an empty USB drive(or filled with useless data) make sure it is big enough to hold the Ubuntu image. Start Rufus and use it to copy the image file to the USB drive – the settings below worked for me:
3. After done copying, power off the tablet, and insert your Ubuntu USB stick(if not already inserted). Press and hold the Volume Up button and the Power button for a few seconds until you see the screen turning on, release the buttons and you should see a boot option screen(it can take a few tries to get this right). Choose the Boot Menu and on the next screen choose your USB stick to boot Ubuntu. (If you do not see the USB stick or the tablet complains about Secure boot, start the tablet with the same method as before and enter the bios settings, and disable Secure Boot, also make sure USB boot is enabled). On the next screen, choose “Try ubuntu without installing”.
4. After booting Ubuntu, the first thing you have to do is get WiFi working(because we will need to download some software), WiFi doesn’t work by default so open up a new terminal by pressing Win+Tab and search for ‘Terminal’.

In the terminal window, enter the following:

5. Now you can click to the WiFi icon in the top right corner and log on to your wifi network.
Next, you need to enable some software repositories to be able to download the software needed. Press Win+Tab and type software and click the first icon that appears:

Enable “community-maintained free and open source software”.

Close the window, when asked to update Software sources click yes.
6. Go to your existing terminal window (or open a new Terminal window) do ‘apt-get update’ and install the Ghex application(we will need this in order to edit some UEFI BIOS variables) answer yes on all prompts:
sudo -i
apt-get update
apt-get install ghex
7. Next, inside the Terminal window enter the following (You can enter partial directory names and press tab to autocomplete, especially for the filename just type ‘OilSetup-‘ and press TAB and you will get the right file.
ghex /sys/firmware/efi/efivars/OilSetup-88d1911c-ab4a-4335-9e9a-26be9081acc3

8. We have now opened up the ghex application and we are editing UEFI BIOS variables directly(caution!). Each pair of hexadecimal numbers (containing 0 and 1s in this case) represent a byte of data, and in this file which is contains the UEFI BIOS settings data byte with value 1 means enabled and value 0 means disabled. One of the bytes with value ‘1’ in this file hides a page containing Advanced settings in BIOS. We simply have to flip this ‘1’ to ‘0’ in order to be able to see the Hidden Pages. I have used an UEFI BIOS IFR extractor in order to find the location of this setting byte in this file. So all you need to do is set the ‘1’ to ‘0’ as shown below. Simply click on the value with your pointer and enter 0. BE VERY CAREFUL and make sure you only edit as shown below:


Now do File->Save and close the application and you are done editing your BIOS! Congratulations!
Shut down the computer remove the USB stick, and start the computer by holding power+volume up again and enter the bios to find 2 new pages in red on your BIOS start screen! Awesome! Advanced contains many settings related to power, thermal management, chipset features and so forth . Main contains some general settings, similar to the already bye default existing Main page. Be very careful when changing the advanced settings, especially the custom TDP setting on the Processor Power screen – I have found that particular setting to make the tablet unbootable(any other settings I have changed so far have not made the the tablet unbootable).
If you change something and the tablet does not boot you have to open the back cover and disconnect the battery from the mainboard (both the small circular one and the main battery), this will reset the BIOS and you might need to use a Windows rescue USB drive to get your Windows install bootable again. Please make a windows/linux recovery USB in beforehand if you are going to experiment.
If you have unlocked your BIOS and experimented with the settings, please post a comment with your discoveries!
